Washers
Washer Leaking From the Bottom? Where the Water Comes From
Washer leaking from the bottom? How to find where the water starts, from the hoses and door seal to the drain pump, plus what repair costs in Jacksonville.
By Jax Appliance Pros · · 6 min read
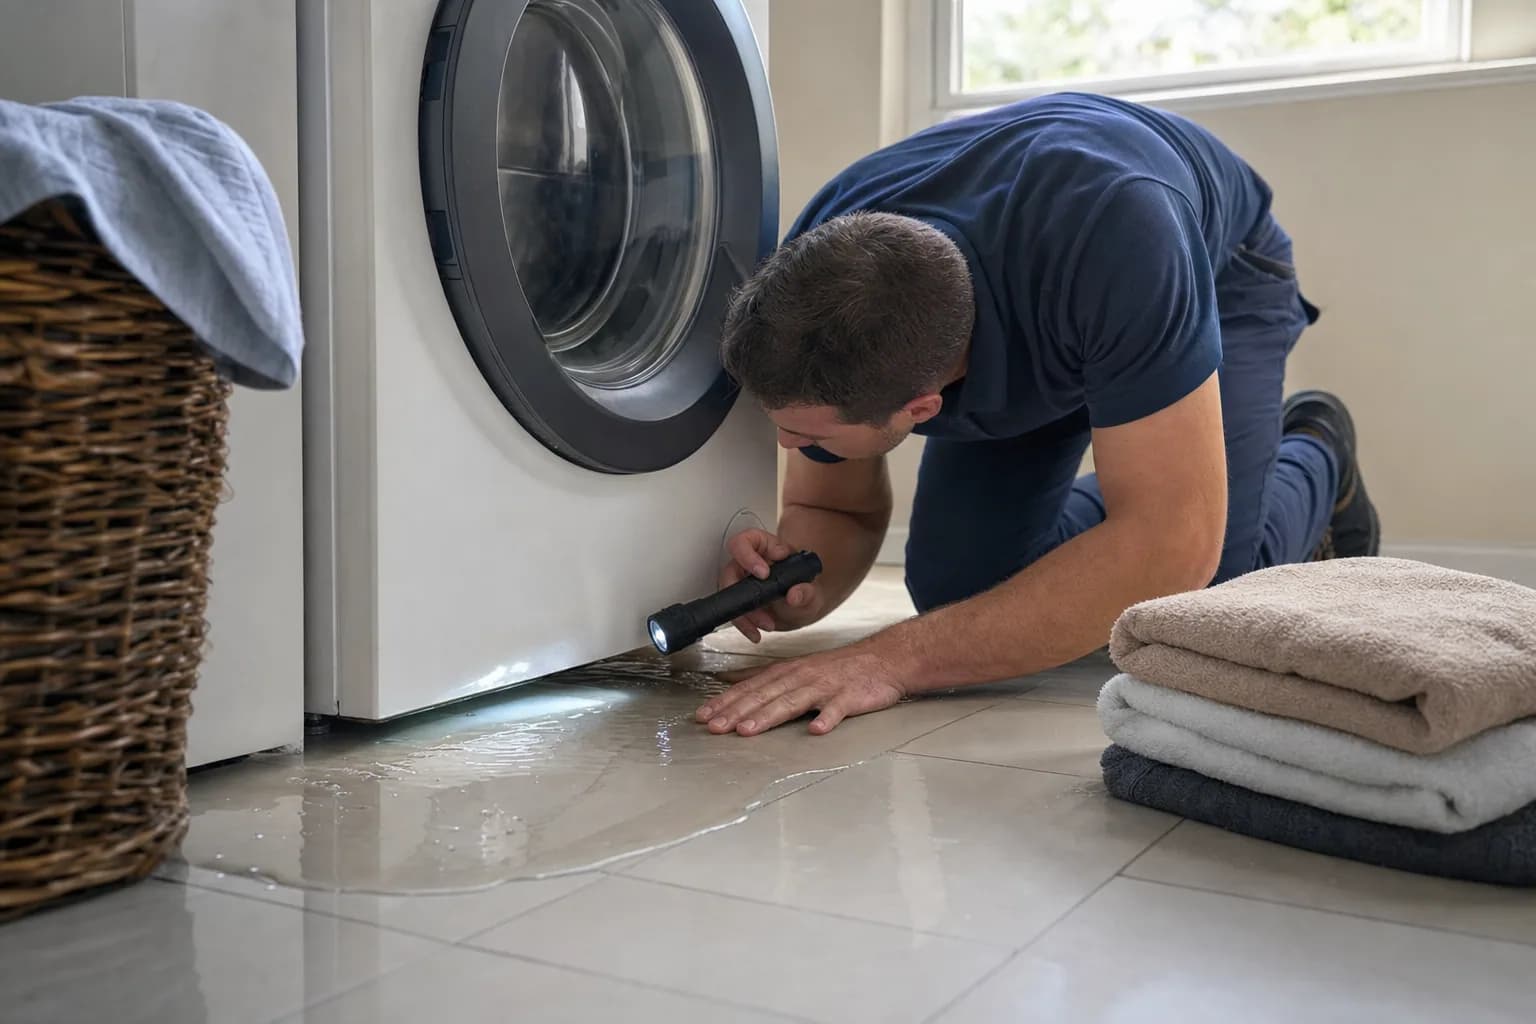
A washer leaking from the bottom is usually losing water from one of a handful of places: a supply hose, the drain hose or standpipe, the door seal on a front-loader, the drain pump or its filter cap, or a seal inside the machine. Water runs to the lowest corner, so a puddle at the front does not mean the leak is at the front. Finding where it starts is most of the job, and several of the fixes are ones you can make yourself.
Water and electricity do not mix. If the puddle has reached the outlet or the cord, switch off the breaker before you touch anything; Ready.gov warns never to touch electrical equipment that is wet or while you are standing in water. Then turn off both water valves behind the washer, unplug it, and keep towels and a shallow pan handy before you open a filter or disconnect a hose.
Washer leaking from the bottom: find where it starts
- Dry everything. Mop the floor, then wipe under the front edge and along the back so you start from dry.
- Lay paper towels under the front, both sides and the back. Where they get wet first tells you more than where the puddle ends up.
- Run an empty cycle and watch. LG suggests running an empty cycle with no load to narrow down a leak. Note when the water appears: while filling points to the supply side; while washing, to the door seal, dispenser or tub; while draining or spinning, to the drain hose, standpipe or pump.
- Ask whether it happens every load. A leak that shows up only with big bedding loads or a heavy hand with detergent is a different problem from one that drips every cycle.
- Look behind with a flashlight, with the power and water off.
Leaking water from the back: inlet hoses and hose washers
The two fill hoses are under house water pressure whenever the valves are open, so a leak here can drip even when the washer is off.
- Hose washers. Whirlpool says both ends of both inlet hoses need hose washers (the rubber gaskets inside the fittings) and every connection must be tight. LG adds that the rubber seal can be torn, damaged or missing, and that a connection at the house valve may just need tightening.
- The hoses themselves. Check along each hose for cracks or damage, and replace a damaged hose. Whirlpool says fill hoses should be replaced every five years.
- The water inlet valve. Whirlpool also lists a cracked or damaged inlet valve, the part on the back of the washer where the hoses attach. That one is a repair.
Drain hose and standpipe
If the water shows up during the drain or spin, look here first.
- The drain hose. It should be free of kinks, cracks and splits. Samsung says the hose should go 6 to 8 inches into the drain pipe, not deeper, and the connection should not be airtight. Whirlpool also says the hose should be secure but not sealed in the drainpipe.
- The standpipe. If water spills out of the top of the pipe the hose drains into, the house drain cannot keep up. Whirlpool says the drain must carry away at least 17 gallons (64 L) a minute, and a clogged or slow standpipe backs up. That is a plumbing problem, and a plumber is the right call.
- A laundry sink. If the washer drains into a sink, check the sink's own drain and faucet too.
Front-load door seal leaking at the front
A front-loader's rubber door seal, or boot, holds the water in the drum. Water that runs down the front of the cabinet during the wash usually starts here.
- Debris in the seal. Whirlpool says lint, dirt or even coins trapped in the gasket can keep the door from sealing, and that the small drain holes in the seal should be kept clear. Samsung says to fold the seal back and look, because even a single hair or thread can cause a leak.
- A torn or worn seal. Cracks and tears mean replacement. LG says a torn gasket needs a repair.
- The dispenser drawer. Whirlpool notes that a clogged dispenser, or a drawer that is not completely closed, can leak at the front, and that single-dose packets belong in the drum, never in the drawer.
Leaking underneath: the drain pump and filter cap
On most front-loaders, a small door at the bottom front hides the drain pump filter, often with a short drain tube and cap beside it.
- A loose filter or cap. LG says water can leak under the washer if the filter is not reinstalled properly after cleaning, or if the drain tube cap and the filter are not closed tightly. Reseat both.
- A failing pump. A cracked pump housing or a worn pump seal drips under the washer during the drain. A pump that hums, drains slowly or leaks gets replaced. Top-loaders have their pump underneath too, and the same drain-time timing applies.
Tub seals and bearings
If the hoses, door seal, filter and pump are all dry but water still appears underneath during the wash or spin, the leak may be inside the cabinet: a hose or clamp between the tub and the pump, or, on a front-loader, the tub seal around the drive shaft. A failing tub seal lets water reach the drum bearing, and a roaring, rumbling spin usually follows. Hoses and clamps are routine repairs. Tub seals and bearings are the expensive ones, so read our repair-or-replace guide before you decide on an older washer.
Too many suds
Suds find a way out. Whirlpool says non-HE detergent, or more detergent than the manufacturer recommends, makes excess suds that can make a washer leak, and that "no splash" or easy-pour bleach, which contains a thickener, can do the same. Use HE detergent only and measure it. To check for built-up residue, run an empty cycle with no detergent; Samsung says any suds you see are coming from detergent residue.
An unlevel washer
Samsung and Whirlpool both include leveling in their leak checks: all four feet should sit firmly on the floor with no rocking. If yours bangs, walks or rattles during the spin, see washer shaking violently.
What usually fails
- Inlet hose or hose washer: drips at the back, sometimes with the washer off.
- Water inlet valve: a leak at the back where the hoses attach.
- Drain hose: water behind or beside the washer during the drain.
- Door boot: water down the front during the wash.
- Drain pump or filter cap: water under the front during the drain.
- Internal hose or clamp: water underneath while everything outside is dry.
- Tub seal and bearings: water underneath plus a roaring spin.
If the washer is also slow to drain or leaves clothes soaking wet, see washer not draining or spinning.
What it costs in Jacksonville
The diagnostic is $79, and it is waived when you approve the repair. Washer repairs start at $179 plus parts, and a typical washer repair on a standard brand runs $200 to $400 all in; pumps, locks, lid switches, belts and valves fall in that range. Premium brands run higher, and tub bearings can exceed $450. You get a written flat-rate estimate before any work begins, many repairs can be finished on the first visit, and if a part has to be ordered there is no trip charge for the return visit. Every repair carries our 90-day parts-and-labor warranty. See our pricing.
Schedule washer repair or call (904) 561-4790 for same-day service across Jacksonville & the First Coast.
About Jax Appliance Pros
Locally owned appliance repair for Jacksonville, the Beaches, St. Johns, Clay and Nassau counties. Same-day or next-day service on refrigerators, washers, dryers, dishwashers, ovens, cooktops, ranges and garbage disposals. $79 diagnostic waived with the repair, 90-day parts-and-labor warranty. Insured. More about us.